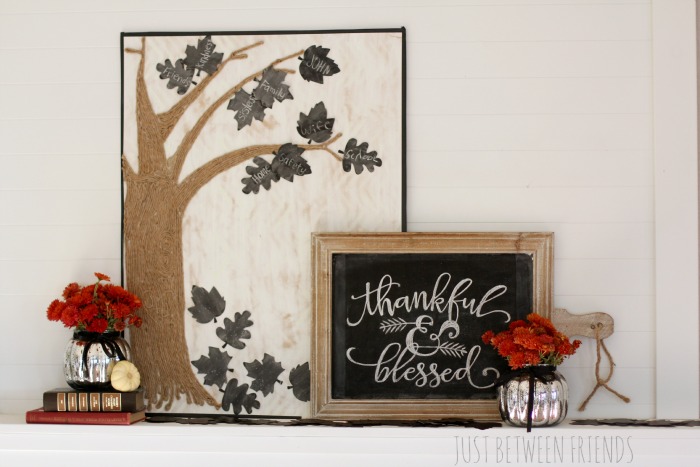
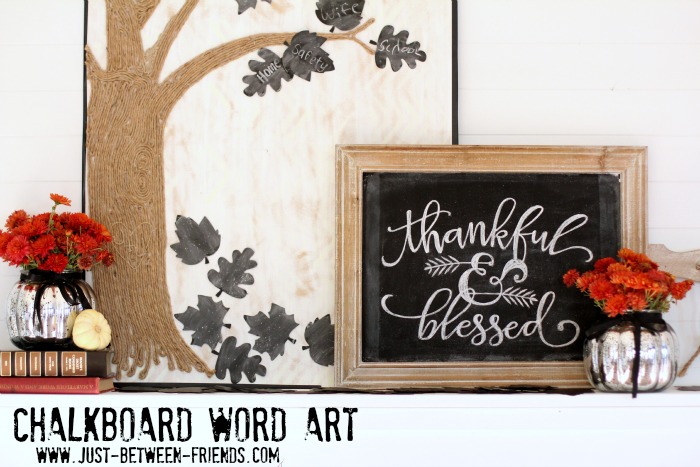
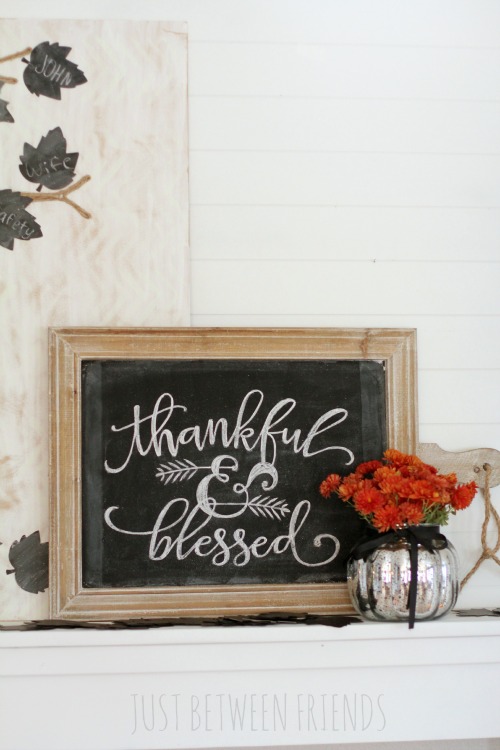
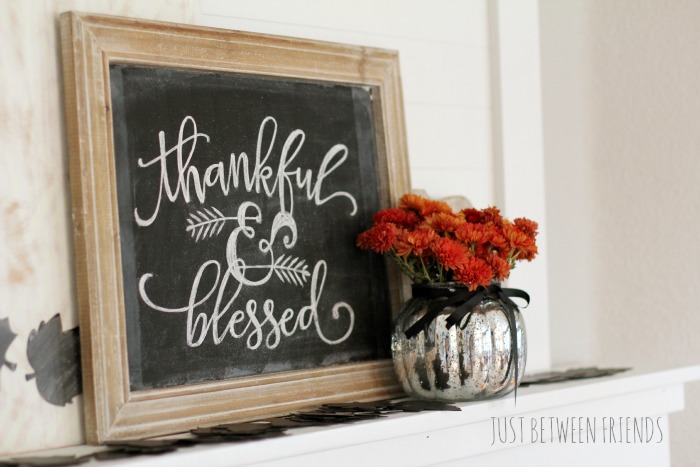
Thankful & Blessed | Chalkboard Word Art

Changing the chalkboard word art out for the different holidays has become a new favorite project for me. I loved my Halloween board, and almost hated erasing it to change it. The good news is that it is so so easy to do, so I can just redo it every year!
Pull out your silhouette machine and look for the “thankful & blessed” word art in the silhouette store. Then, using vinyl, cut out the word art and weed out the letters leaving behind the outer parts of the vinyl so that it acts as a stencil. I get my vinyl from Expressions Vinyland just use the normal indoor adhesive vinyl. Since the vinyl won’t be staying on the board, you can use any color you want to. Apply your vinyl to the chalkboard and then this is where the magic happens!
Get a piece of chalk and stencil the words onto your chalkboard. I have found that the best way to do it and get the best results is to use longer strokes while writing as if you were actually writing it. Once the base of the letter is there, then go back and fill in the parts that you have missed with smaller strokes.
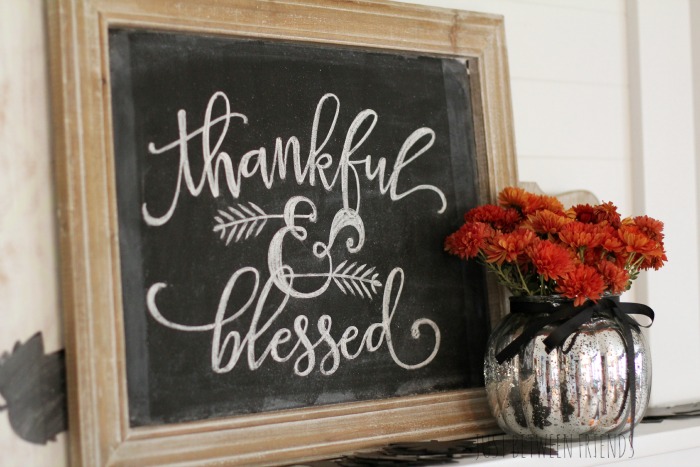
After you have chalked all of it, remove the vinyl and admire your work. See what I mean?!
Totally easy and it looks amazing!!! If you missed the tutorial for making the gratitude tree, you should definitely go check that out!