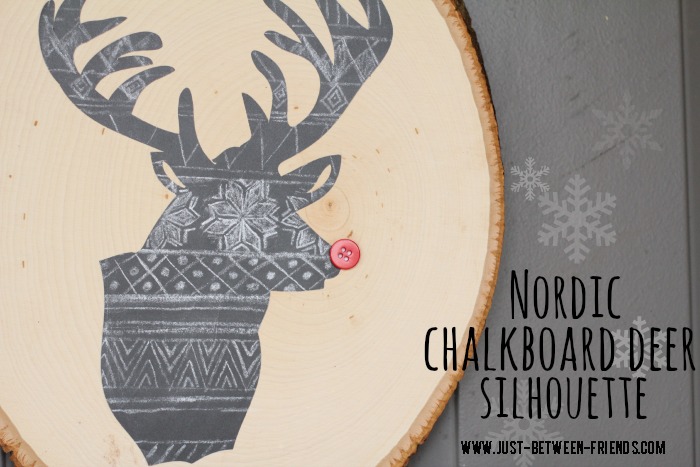
Chalkboard Deer Silhouette
You know when you get an idea that you think will be really cool and then you put it together and it ends up even better than you originally thought? This is that idea. I am so excited with the way this chalkboard deer silhouette turned out and can’t stop opening my door to look at it. 🙂 If you want to make one for yourself (which I HIGHLY recommend cause it’s so cute) it is an easy enough tutorial that can be done in no time!
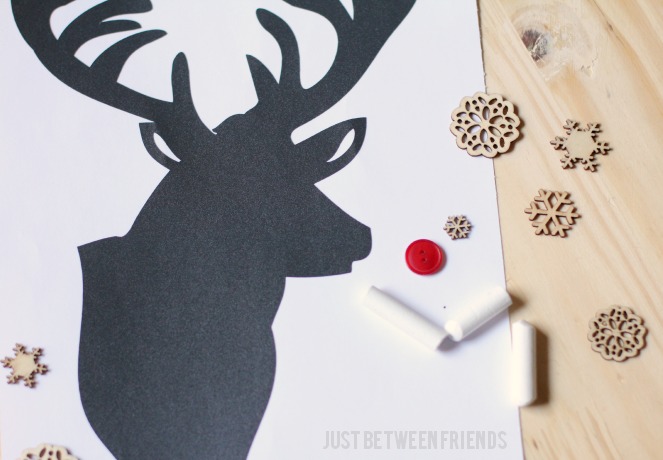
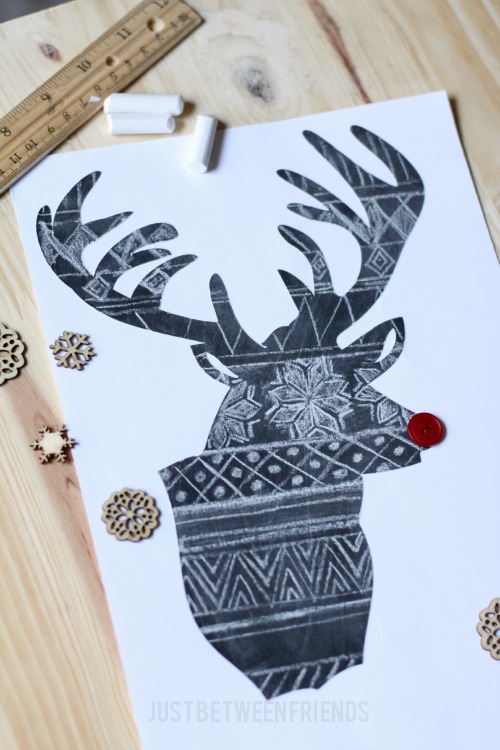
I started out by using my Cricut Explore machine and cutting a deer head silhouette out of chalkboard vinyl. You can get the vinyl from Cricut or Expressions Vinyl. Once the silhouette was cut out, I primed the chalkboard by rubbing the chalk over the entire surface and then wiping it off. Then I sharpened some chalk and used a ruler to draw some lines on the deer head to use for the different pattern sections. The lines can be as close or as far apart as you would like, I do recommend using different sizes of spaces though to create interest in the pattern.
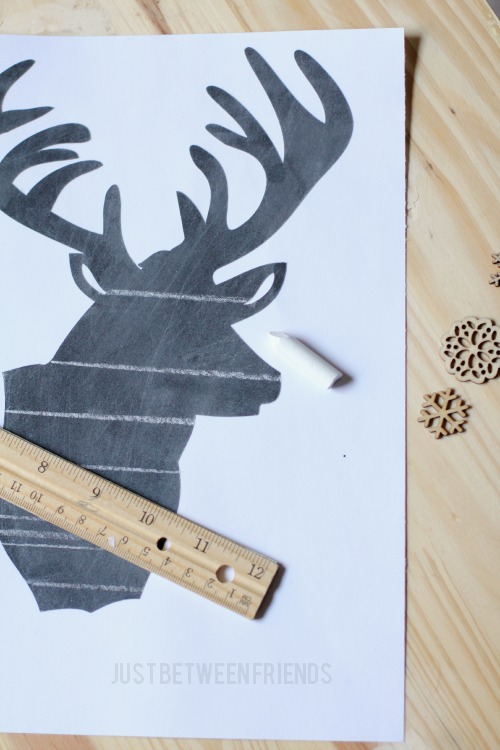
Now for the fun part! It was therapeutic for me to sit down with my sharpened chalk and fill in the different sections with various patterns. I wanted a nordic type look and I think the snowflake looking pattern helped with that.

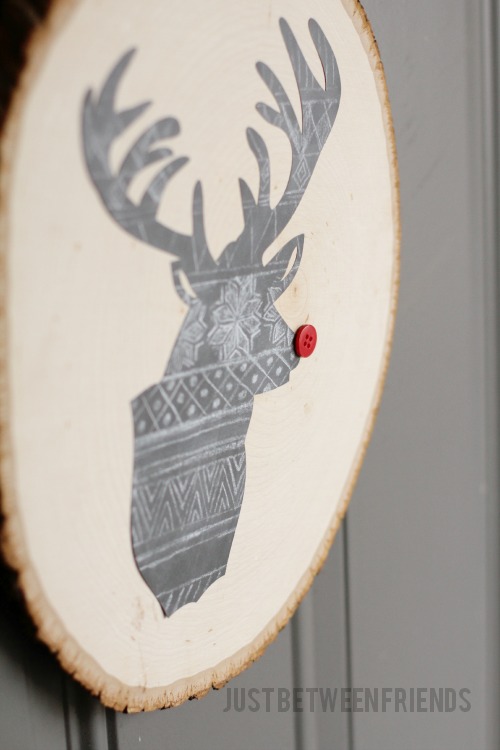
After all of the patterns were finished, I bought a wood slice from Michael’s and put the vinyl on that. If you are using my printable, just cut out the deer head and attach using mod podge or some other kind of adhesive. Be careful not to smear the printed part though. If it gets wet at all, the ink will run together and ruin the pattern.
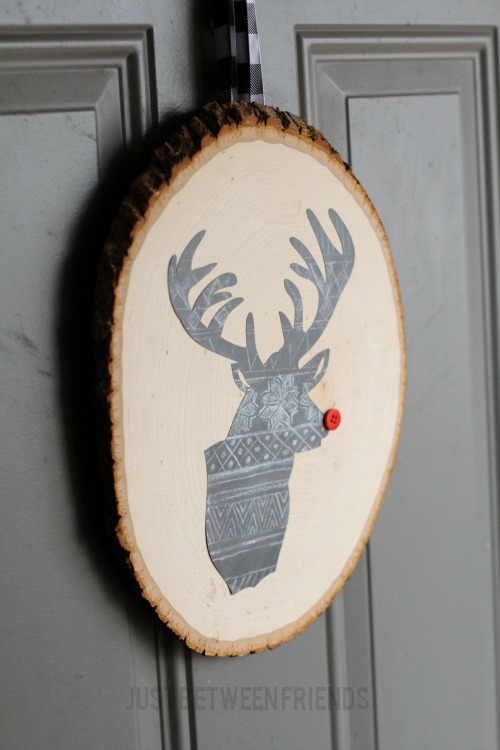
The finishing touch was to add a red button for a nose and then I hung the wood slice on my front door using a black buffalo plaid ribbon. I love the way it turned out!