


Kid’s Art Display
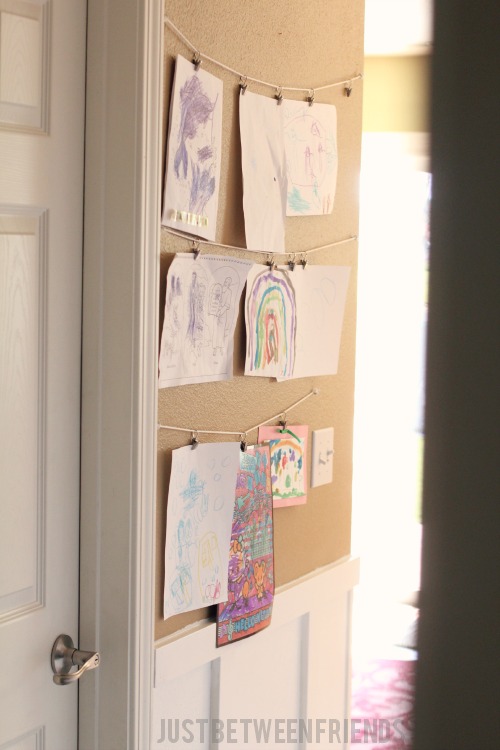
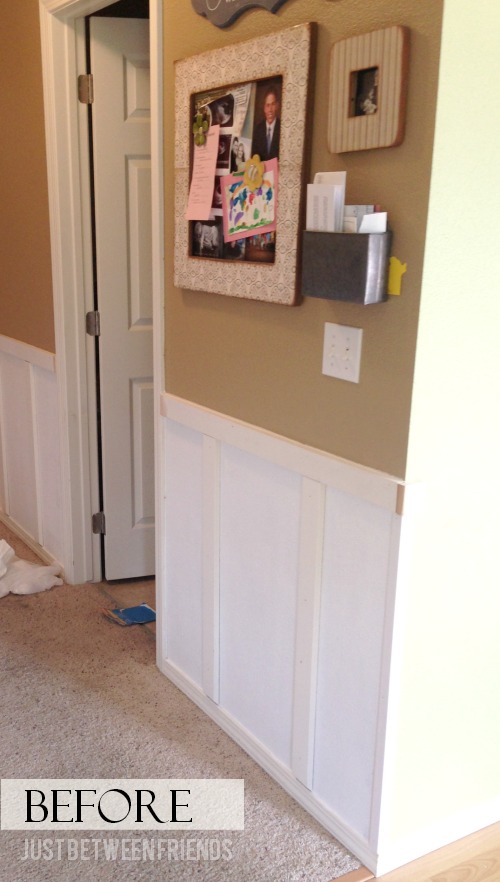
My daughters both love to draw. A lot! They are constantly giving me new artwork to admire and I haven’t really had a place to put that artwork before. Along with my Command Center, I wanted to have a place that I could hang their artwork, especially once school starts since they will be bringing home artwork they have done there. I wanted something simple but functional which is how I came up with this idea for a kid’s art display.
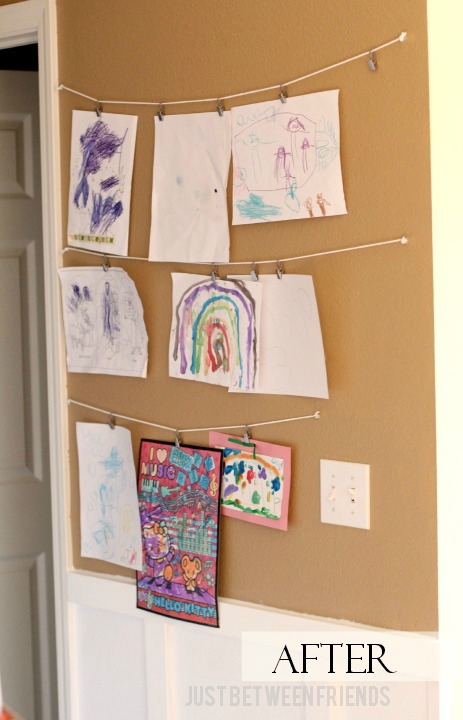
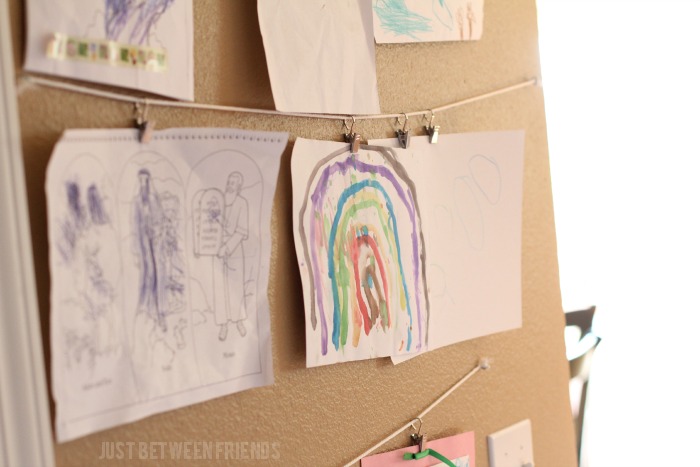
Using eyelet screws, rope, and these amazing IKEA clips, I was able to create exactly what I had hoped for. I love that I can see their artwork while I am working in the kitchen or just walking down the hallway. It is definitely a bright spot that I am glad that I came up with.
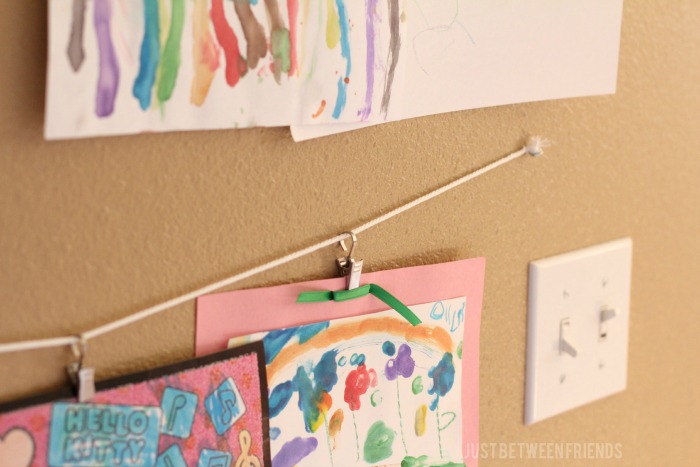
To make your own, just cut the rope to fit the area that you want to use for this display. Then screw the eyelet screws into the wall making sure that they are at the same height for each rope. If it isn’t straight, the clips will slide down the rope. Slip the rope through the eyelet and then tie a knot that is big enough that it won’t slip back through the eyelet. Add the clips to the rope and then you are done! You can hang any work of art that you might have around. Now I just can’t wait for school to start to add even more fun projects to our wall.

