


Wooden Bunny | Wood Connection
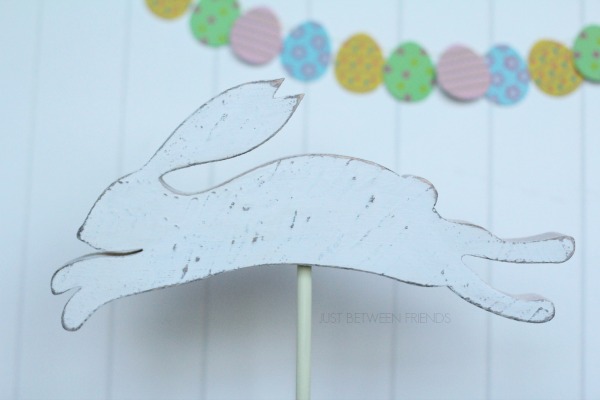
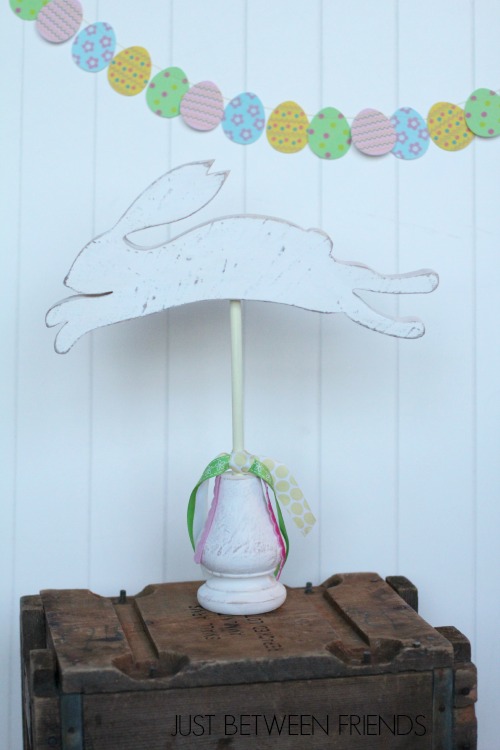
Today I am going to show you how I finished this fun bunny silhouette kit that you can pick up at The Wood Connection. We became bunny lovers at my house the day we decided to get one as a pet. As soon as I saw this cute wooden bunny kit, I knew that it just needed to come home with me! (If you want more info on the Easter sign in the picture, you can check out this Easter Egg sign tutorial post.)
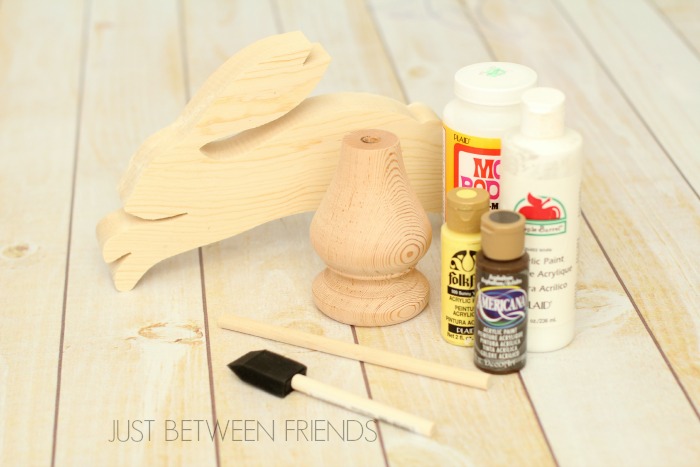
I began by using mod podge on the wood pieces to create some texture. To get it to work right, just use a sponge brush and mod podge and leave little mountains of the mod podge all over the wood. You don’t need full coverage, just enough to make some texture.
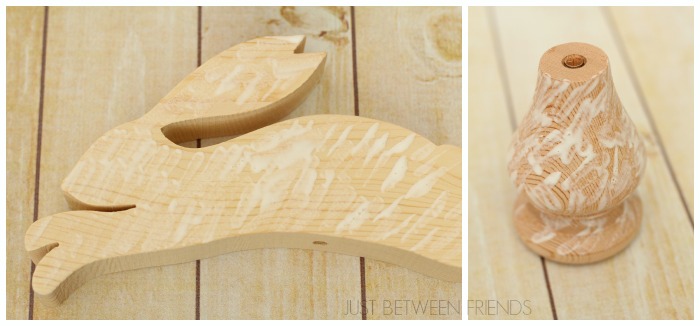
Let the mod podge dry for at least an hour. After it is completely dry, use a dark brown paint and paint the bunny and base with one coat. After that has dried, you’ll use the white paint and paint at least two coats. Make sure you have full coverage. Once the paint has dried, use some sandpaper on the edges of the bunny as well as on the textured parts of the bunny and base. This will take off the white paint leaving the brown to show through.

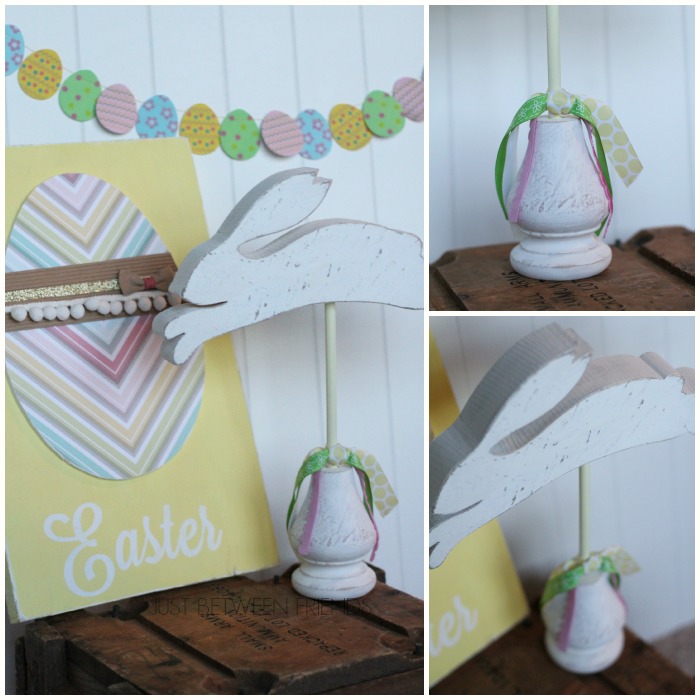
Next, I used the yellow paint on the stick and then added some ribbon to the base to add a little extra cuteness. That’s it! Now just set it on your shelf and enjoy! It is such a fun and cute decoration that you are sure to love!

This bunny is so perfect for your house! I love the finish on it!
I love this running bunny silhouette! I love the paint technique you used on it!
I love the texture on the bunny. Great idea. He turned out so cute! (or is it a she?) 🙂
Very cute!! Love the Wood Connection!
I seriously can’t wait to try this technique! I’ve tried to get texture under paint using mod podge before, but never had any luck. I just need to use more! Thanks for the tips!
I love that Wood connection has so many great projects that are super simple. I’m not too crafty so these are right up my alley!