


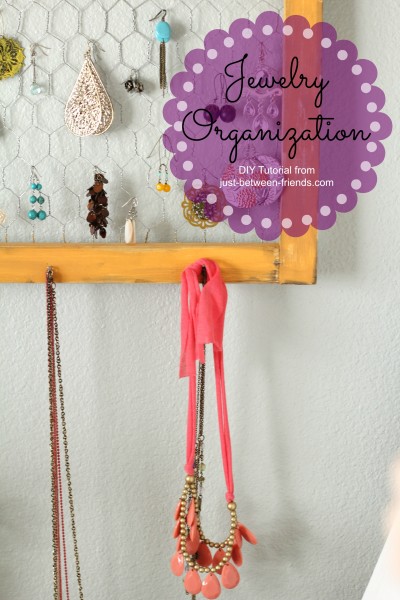
DIY Jewelry Organization
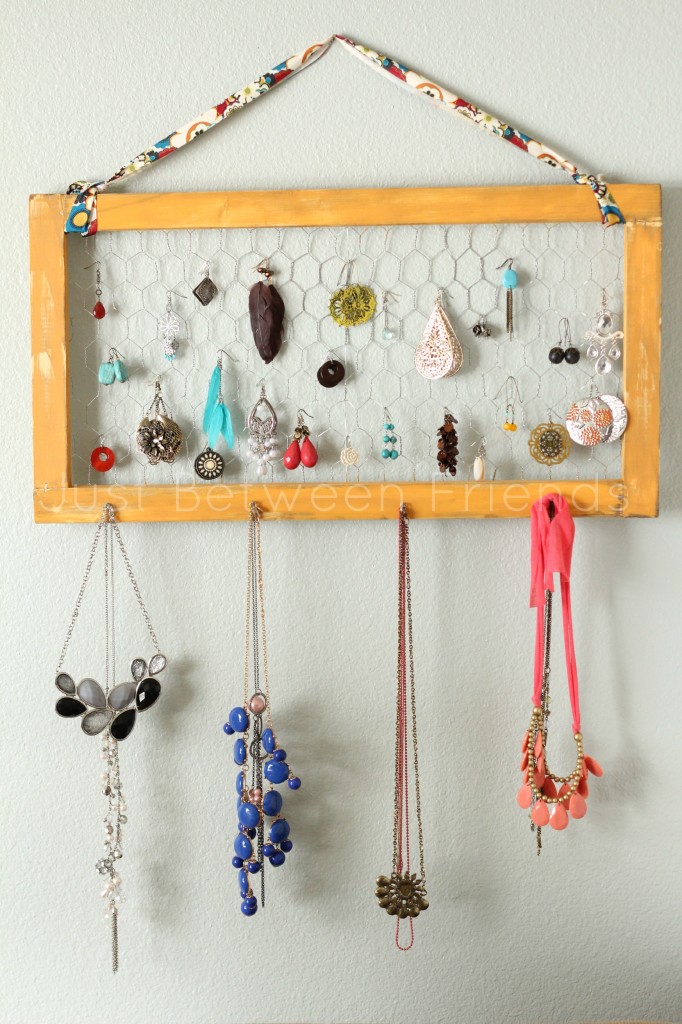
I love my jewelry, and I love wearing it. I hate trying to fish through a bowl or a shelf to find a matching earring though. I decided I need to create something that could hold my jewelry and be super cute at the same time. This is the DIY jewelry organization I came up with!
Do you want to make one for yourself? It is SO easy to make. I actually made them with the Young Women in my church group and they really enjoyed it. We found the cost to end up being about $2 per girl to make these. They are SO affordable and fun to make.
Supplies needed:
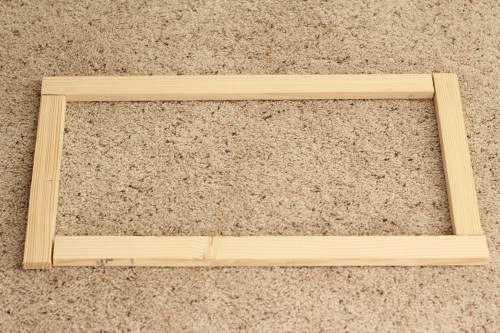
- (2) 1×2 wood pieces cut to be 1 ft long
- (2) 1×2 wood pieces cut to be 2 ft long
- Staple gun
- Chicken wire- cut size to 1 ft X 2 ft
- Paint
- Ribbon
- Little Nails
Start by sanding and painting your wood. It is way easier to do it before everything is put together. I only painted the front and sides, but you can paint the back too if you would like. Next you will create a frame of sorts. I placed my wood pieces like this and then used the staple gun to hold the parts in place.
Once you staple the front, flip it over and add the chicken wire. I made sure to staple the connections of the wood really well so that it was sturdy.
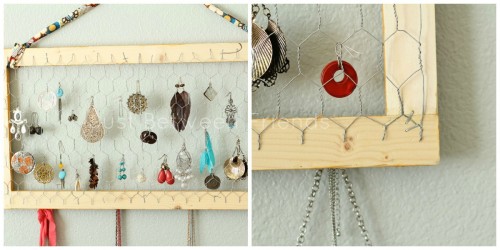
I wanted to be able to hang some necklaces as well, so I used some small nails and hammered them into place on the front of the frame. Looking back, I probably should have either added more nails, or used bigger nails because the smaller nails don’t hold very many necklaces.
Last thing you need to do is attach the ribbon. All I did to attach it is to knot it around the top of the frame and leave enough ribbon to hang it from.
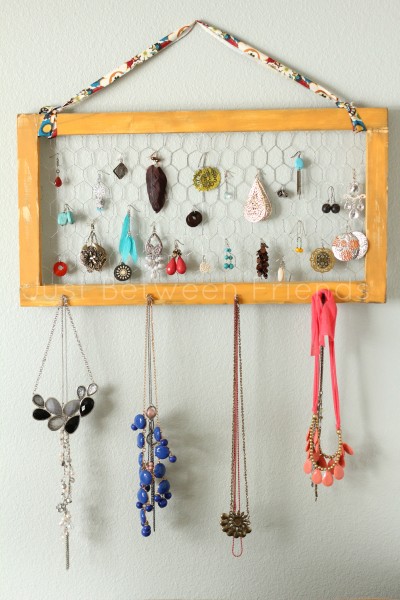
Ta-da! Now you have a fully functional and stylish way to hold and organize your jewelry!

Lovely! I really love how you used a pretty ribbon to hang it — it adds such a nice oomph of awesome 🙂
Thanks Lorene! I think you’re right. It does add the extra oomph that it needed 🙂
It’s perfect! I love the look of the chicken wire, and you’ve got some cute stuff there 🙂
love this! i totally want to do something similar for my earrings!
very fun, I never wear earrings because I can’t ever find the pair!
This is so pretty.. Love the color and that everything is out in the open so you don’t forget what you have 🙂
I love the chicken wire idea! It gives a lighter, more delicate look compared to other wire meshes/screens.
Love this wonderful idea!! I have some left over “carpenter’s cloth” which is actually just smaller-hole sized chicken wire, from Home Depot. (I have no idea why they call it carpenter’s cloth). I wonder if I could use it, in place of the chicken wire shown in this project? Any thoughts?