


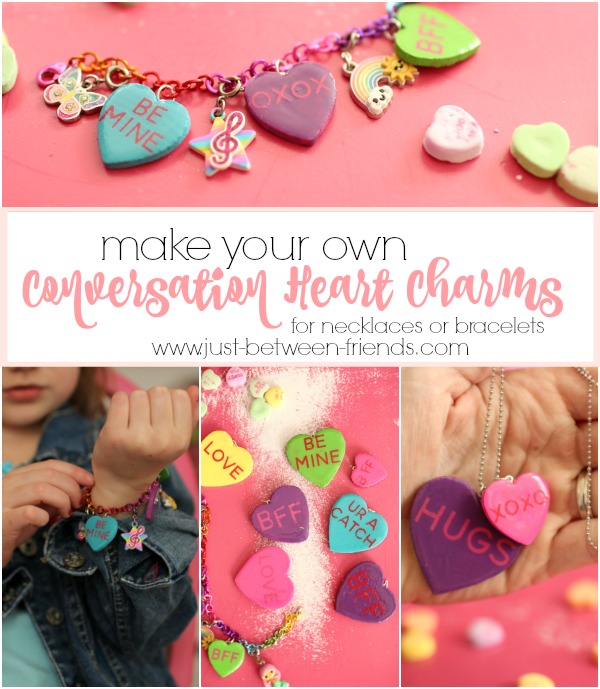
Conversation Heart Necklace
One day, Addie took me aside and asked me if I remembered when we used to do projects every day during Carter’s naptime. Of course I remembered. She asked me if we could please do that again, and I started to wonder why we even stopped! Of course we can do projects during naptime! I took her to the craft store, and we started planning ideas together of things that we thought would be fun to do, and the idea of making conversation heart necklaces was born.
Valentines Day is my second favorite holiday (second to Halloween, of course) and I love doing Valentine’s projects with and for my girls. We gathered the necessary supplies at the store and then got to work during Carter’s nap.
To do this project, you’ll need:
- Wooden hearts (I used the 1 inch and 2 inch hearts)
- Bails
- Paint
- Vinyl and a Cricut or Silhouette machine (or you could use alphabet stickers)
- Dimensional Magic (it’s found by the Mod Podge and made by the same company)
- Jump Rings
- E-6000 Glue
Because of the amount of dry time this project requires, we took 3-4 separate days to complete it fully. You also need to know that Addie did the bulk of this project and she is 5 years old. It is very simple to do and a lot of fun.
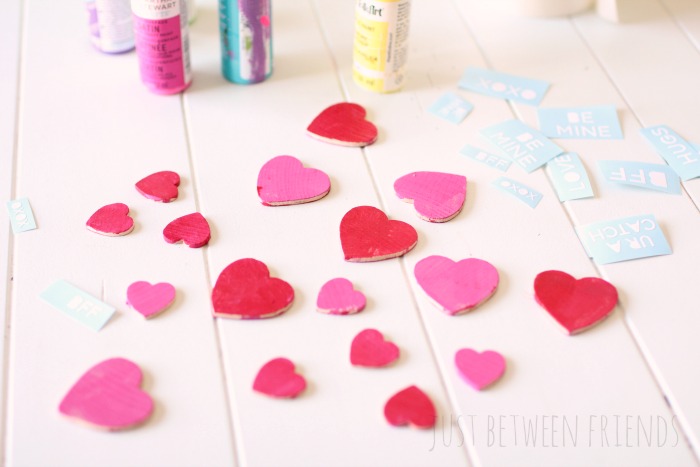
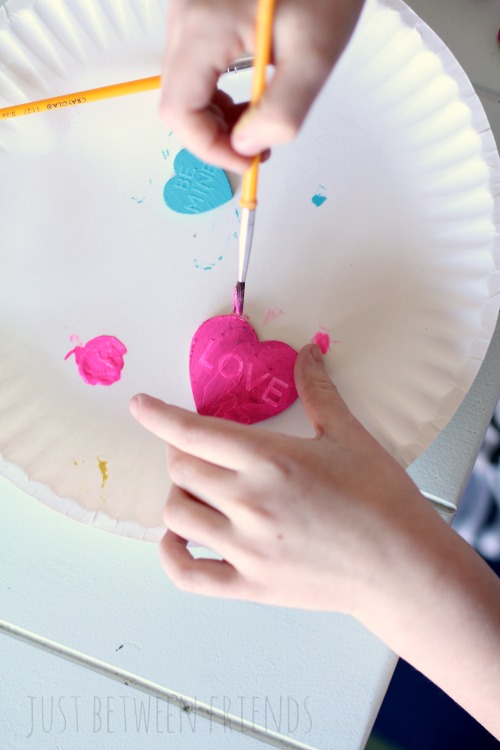
Start by painting your hearts pink or red. Whichever color you would like your letters to be should be the first coat of paint.
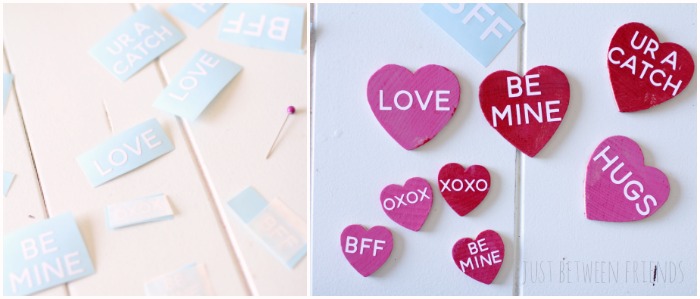
After they are dry, use your vinyl and Silhouette machine to cut out the words for the hearts. I pulled up pictures of the conversation heart candies online so that I could see the exact wording that they use. I wanted to go old school. 🙂 I cut it into two different sizes so that they would fit on both sizes of hearts.
Use some transfer tape to apply the vinyl to the hearts, and then paint over the top of the vinyl with a variety of bright and fun colors.
I have to pause and tell you a little story about this part. I started this portion of the project with Addie, but then had to teach piano lessons and left Addie to keep working on them. She applied the vinyl, painted the hearts, and weeded out the vinyl when she was done. With the vinyl that I didn’t have transfer tape on, she just peeled the letters off and put them on the hearts however she thought would look good. Also, my yellow paint was dried out and I was going to throw it out. She took some of the dried paint, added water to it and painted one of the hearts with it. I tell you, this girl is going places. I love seeing the way her mind works.
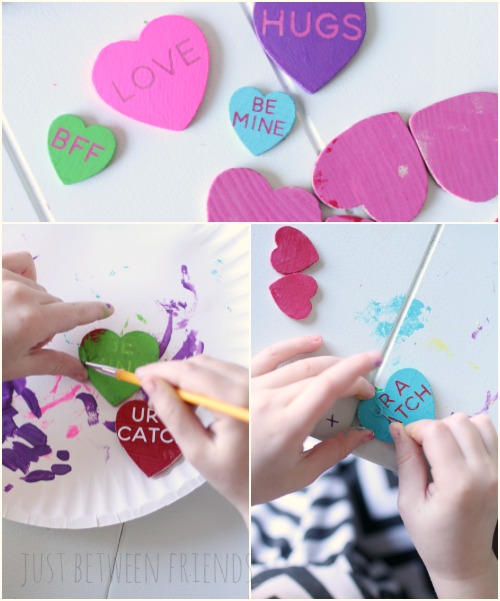
Once the paint is fully dried and you’ve weeded all of the vinyl out, use the dimensional magic on the hearts. It is super simple. All you have to do is spread it around the top of the heart. It will go on cloudy looking, but it dries completely clear. I love the way it looks when it’s done since it is all shiny. It will take 3 hours or so to dry completely, so put it on and come back to it the next day like we did.

Last, you’ll need to add the bails to the back of the hearts. I used E-6000 to attach mine so that I knew it was going to hold up really well. That will also need to dry overnight, so once they are attached, leave them to dry. Once dry, put the jump rings through the top of the bail and then string onto a necklace.
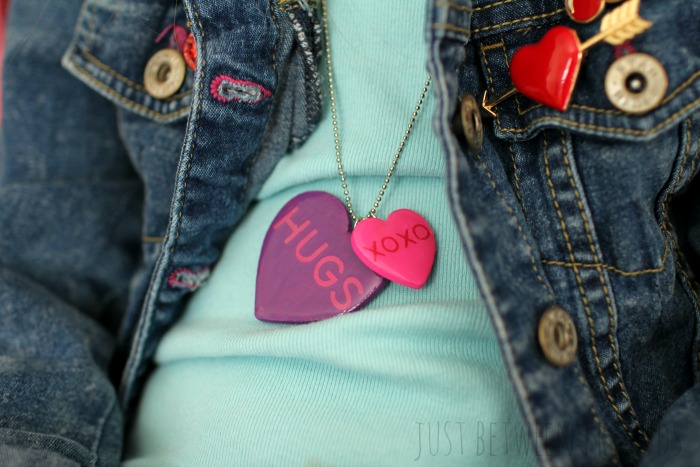
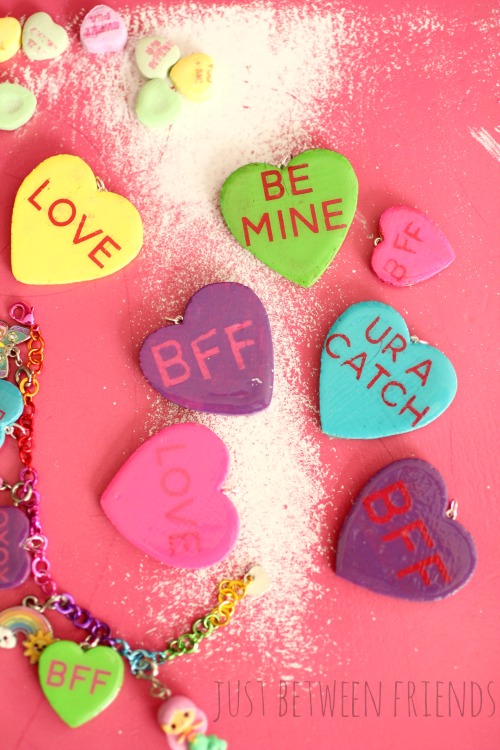
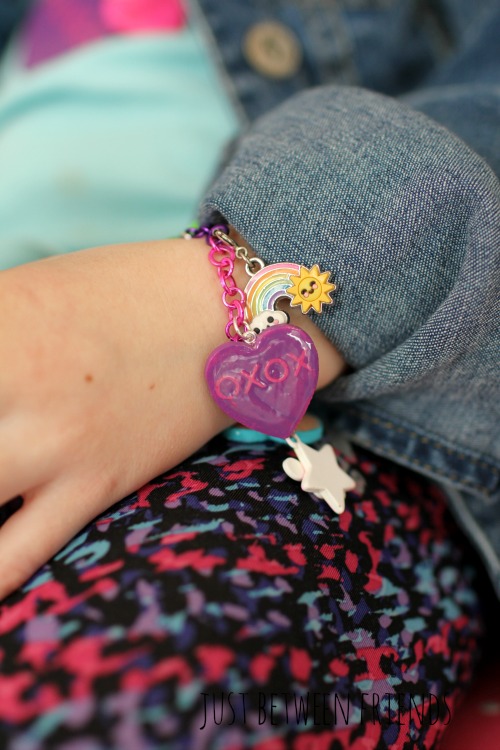
Ta-da! It is so fun . I loved the layered look of having a big heart and a smaller heart put together.
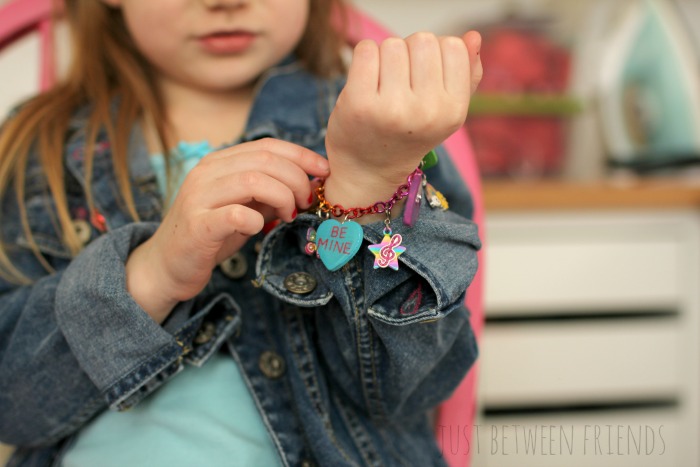
Then I took it a step further. My girls got these little charm bracelets from Charmed Collections for Christmas one year, and I thought it would be fun to add the smaller hearts to it. I LOVE the way it looks. Addie thought it was so cool!
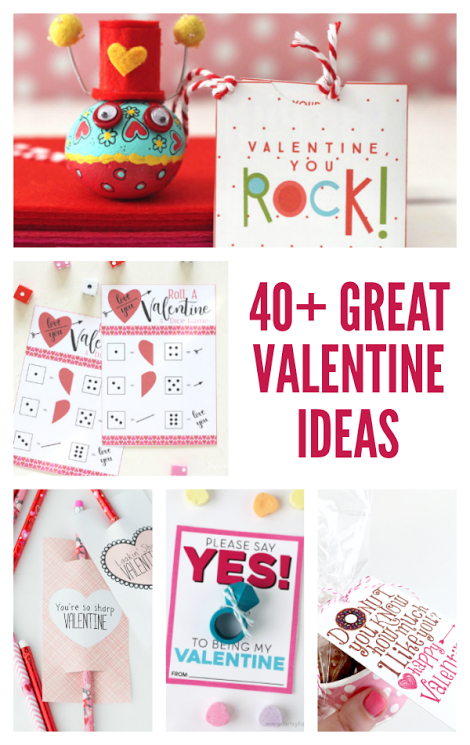
As an added bonus, here are over 40 more handmade Valentine’s Day projects that some of my blogger friends are sharing on their blogs today as well. You are sure to find something that you love or that you’ve got to try this year. Go check them out!

These are adorable! How fun to have little girls to do stuff like this with.
You’re such a fun mom to make stuff like this with your kids. Thank you for sharing as part of the blog hop.