


Painted Mason Jars

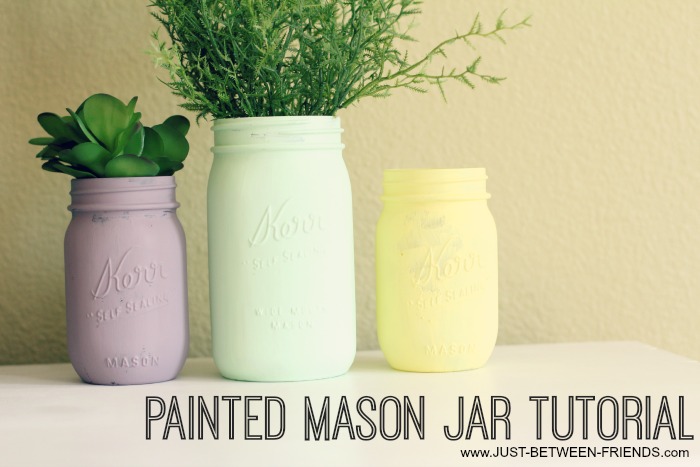
I originally shared this tutorial over on Bakerette, but I thought I would share it here as well because who doesn’t LOVE painted mason jar vases?! You are going to love the way they look in your house, but you will probably love the cost even better! I had all of these supplies on hand, so it didn’t cost me anything for a new decoration that I can use anywhere! I love projects like that.
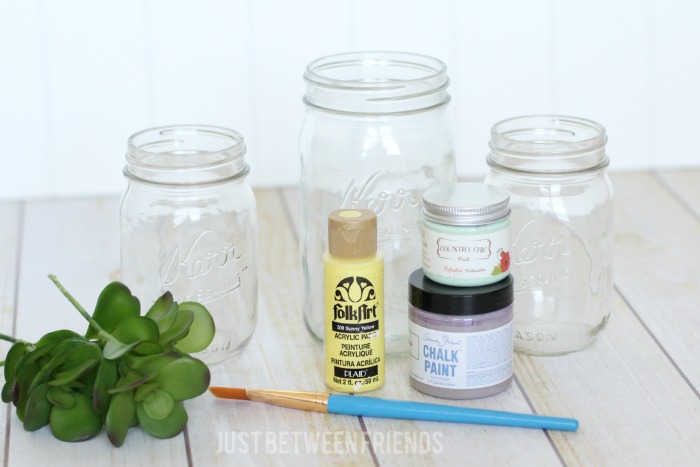
Supplies:
- Mason jars
- Paint
- Paint brush
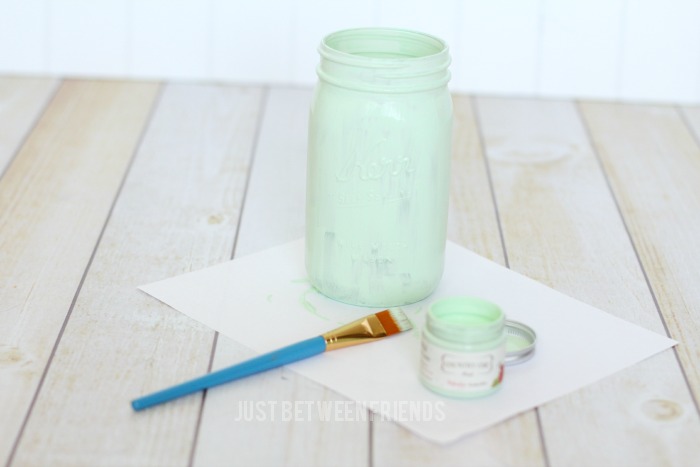 I have wanted some of these in my house for a really long time, but never took the time to make them before. Now that they are done, I am wondering what the heck took me so long! I grabbed some jars from my pantry and made sure that they were free from dust or dirt before starting to paint. Then I painted the outside of the jar ONLY. This is important because if you paint the inside, it could be hazardous for plants if you choose to put living plants into the jars. Plus, the paint won’t hold up if you put water in the jar. Just stick to painting the outside.
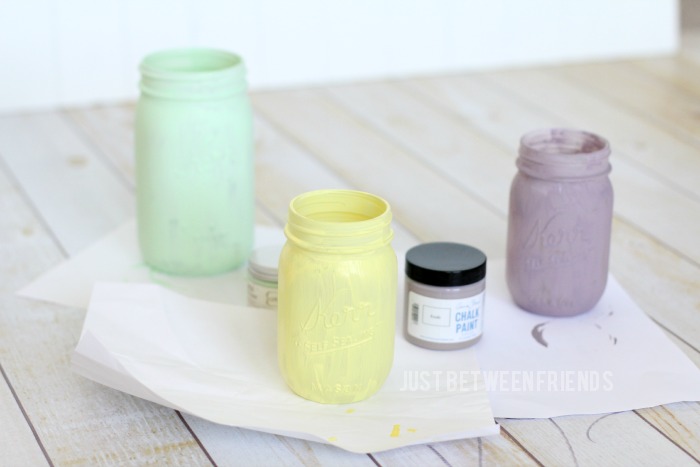
Once it is dry, apply a second coat. If you still don’t have the coverage that you want after the second coat, feel free to add as many as you would like.
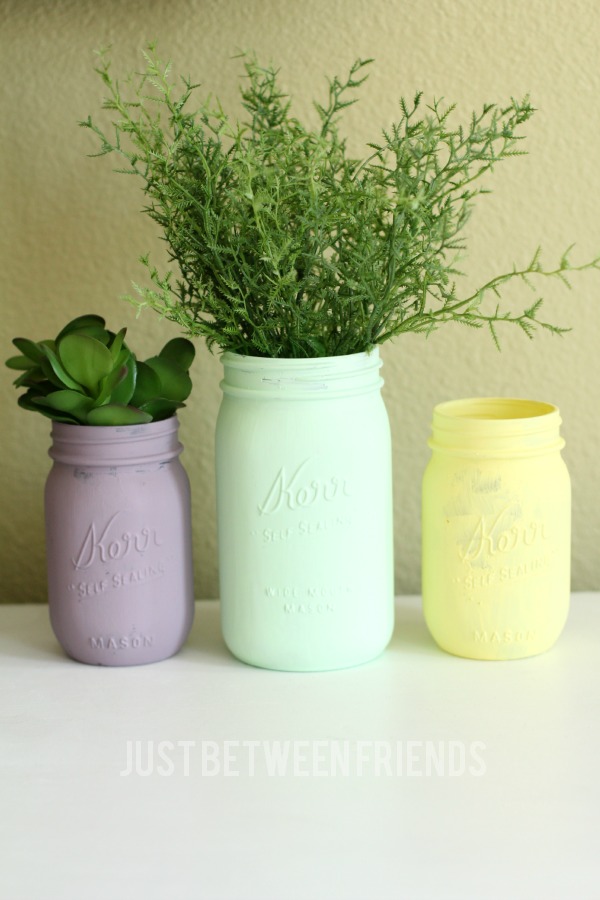
Last, I added some plants to my jar. They are just fake for now, but I might replace them for real ones later on. Who knows?! I love the way they look all together. It makes a nice statement without being over the top, PLUS it cost me nothing. Love that!
