


Painted Aztec Shirt

Have I ever mentioned how fun it is to have two little girls? We get to play dress up all the time. When I get new clothes for them, they oooh and aaah over them and are excited to wear them. They also love doing projects with me which is what made this project a double win for me. Lillie got a new shirt AND got to do a project. You can’t go wrong with this painted aztec shirt!
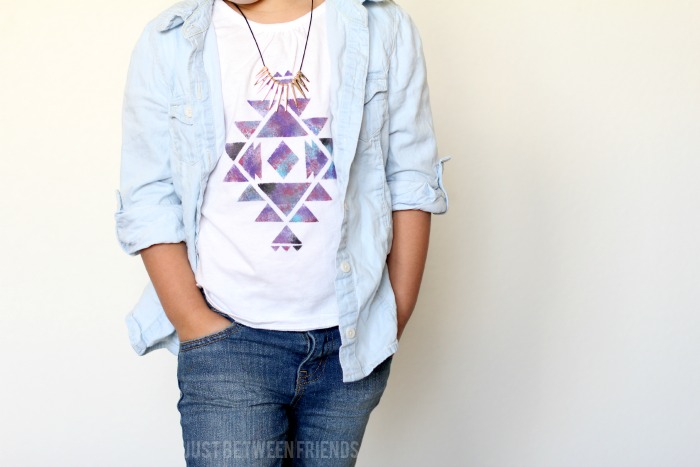
I really love the Aztc printed clothing, but don’t see it often in kid’s clothing. I thought it would be fun to create a pattern and then stencil the design onto a t-shirt for Lillie to wear to school since she will be starting Kindergarten next week! Ah! Creating this shirt is so simple and the best part is that you can make it to fit on any size shirt from kid to adult.
Supplies:
- Vinyl
- Fabric paint in assorted colors (I used black, blue, purple, and pink)
- Stenciling paint brush
- T-shirt
I began by designing the pattern on my cricut explore. If you have an Explore, you are welcome to use my design by clicking that link. If not, you will have to create your own design. I used plain wall vinyl for this project because it was what I had on hand, and it worked perfectly. Once it is cut out, take out all of the little pieces leaving behind the main part of the stencil. This is what you will be using on the shirt.
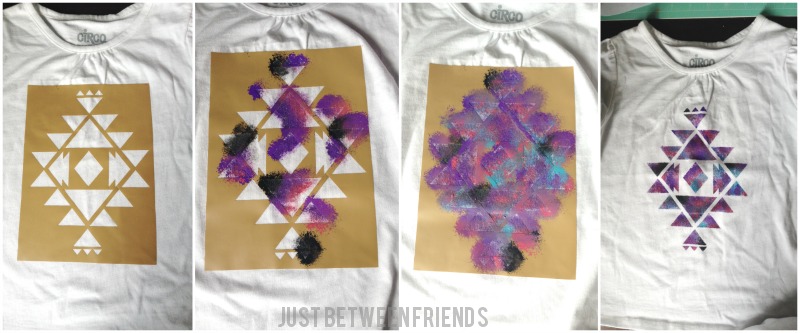
Peel the vinyl off the backing and place the vinyl on the middle of the shirt where you would like it to go. I then grabbed a piece of cardboard and slipped it into the shirt so that the paint wouldn’t bleed through to the other side. Then, starting with black, I began adding color to the shirt a little at a time in random places. I tried to keep it pretty even so that one side wouldn’t end up with all one color, but you really can’t mess this up. Make sure that you don’t have a ton of paint on your brush and you’ll be good to go. Keep adding color to the shirt until all of the triangles are completely covered, and then remove your vinyl.
So easy! I really love the way it turned out, and the vinyl helps to keep all of the lines nice and crisp so that you don’t have to worry about it bleeding through.
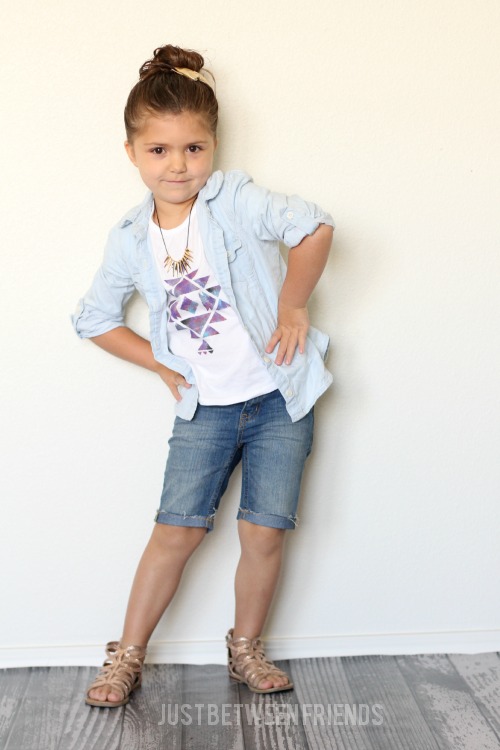
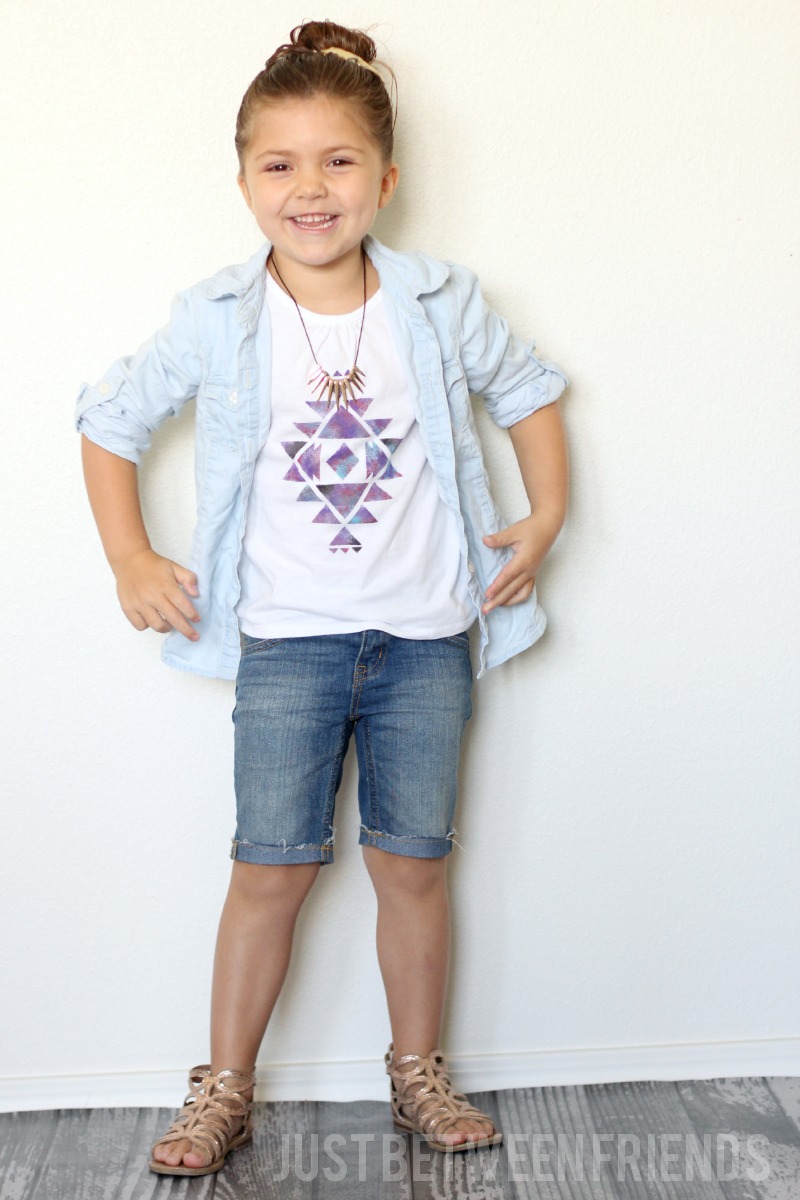
Lillie was thrilled with the shirt too and was excited for our photo shoot. When we finished, she asked me “so, how did it go?” and then sat down to take a look at all of the photos with me. She especially liked this one and how can I not agree?!
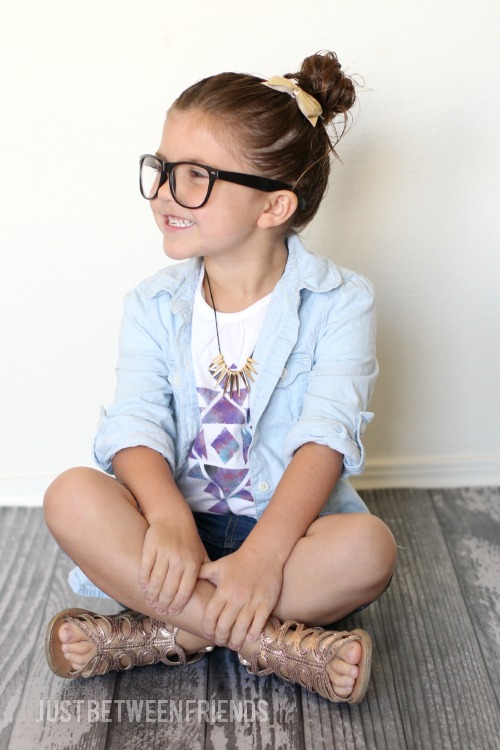

I love her sandals. And the picture with the glasses is so stinken adorable! She’s a cutie for sure.
I like the Aztec shirt. Really cool ideas.
So darn cute. What a great project for children to make with their moms.
Great mother daughter time!!