


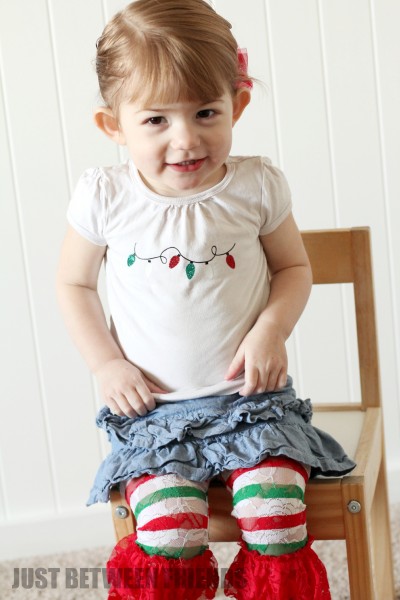
DIY Christmas Shirt | Iron-on Vinyl
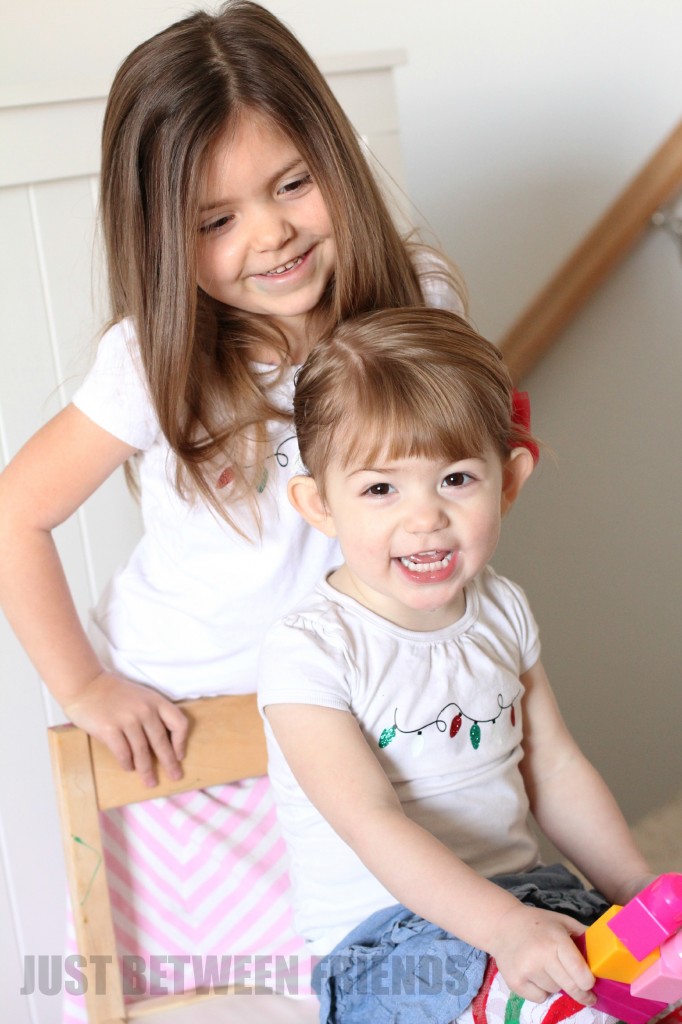

For our first post in our “I <3 Vinyl” series, I thought it would be fun to show you how to use the heat transfer vinyl, also known as iron on vinyl. It is so easy to use, and it has about a million ways that it can be used! In this post, I will show you how I created these DIY Christmas Shirts for my girls using several different types of iron on vinyl.

This coming Saturday, my daughter Lillie has a dance recital, and we were asked to provide costumes for our girls. They gave us guidelines to follow including the fact that they needed to have a Christmassy t-shirt. I ordered some glittery red and green iron on vinyl, and then, just for fun I also ordered some glow in the dark iron on vinyl. When I thought about which Christmas shape to use, I kept coming back to the Christmas lights and knew that it would be perfect!
I began by downloading a Christmas light shape from the Silhouette store and tweaking it just slightly. The original shape was too straight across and I wanted mine to be more wavy and fun. I also made the light bulbs larger because the original shape was WAY too small for my liking. Once my design was ready, I cut it out and then came the fun part!
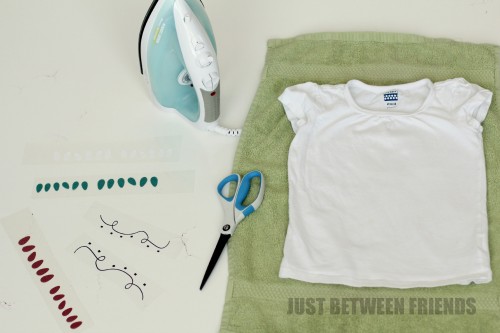
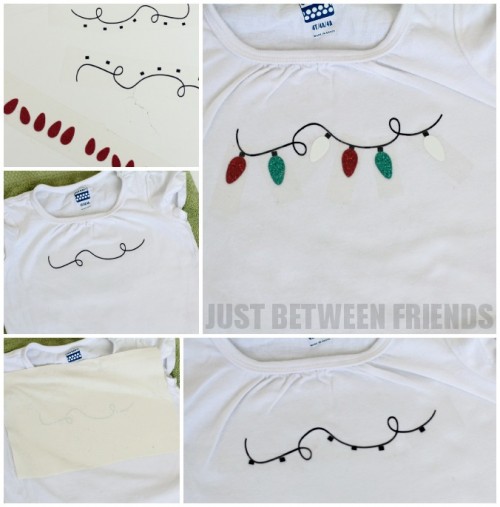
Since I had so many different parts of the design and in so many different colors, this has to be done in steps. Start with your black iron on vinyl and place it where you would like it on the shirt. Be sure that there aren’t any wrinkles in the shirt when you put it on or else the vinyl will end up peeling off when you wear it. Place a pressing cloth over the top of the vinyl and then heat set the vinyl in place. (The plastic backing should still be on your vinyl at this point.) Once you have pressed your iron on the vinyl for about 20 seconds, remove the pressing cloth and peel back the plastic backing. You should be good to go at this point. Next, I added the little squares that are the tops of my light bulbs and repeated the same process as before. Last, I added the colored bulbs and pressed them on the shirt. Don’t forget that pressing cloth!
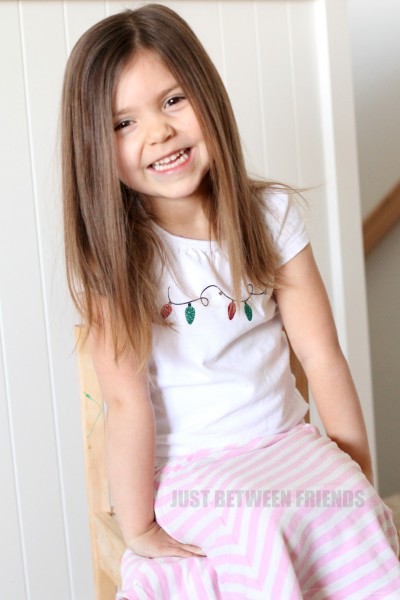
Your shirt should be finished at this point! Let it cool down before you attempt to let anyone wear it. Once you have it on, bring your kids into a dark room and show them how cool it is that some of the lights actually glow!!! My girls thought it was so cool! I don’t have a pic of it though because it is harder then it looks to take a picture in the dark 🙂
If you want a chance to win some vinyl to make projects like this on your own, don’t forget to go enter our vinyl giveaway to win a $25 gift card from Expressions Vinyl! Also, if you are wanting to buy some of this vinyl, or anything from Expressions vinyl, be sure to use the code JBFRIENDS at checkout to get 10% off your total purchase! It is only good through 12/22, so be sure to use it in time!


That is just too cute!!
I’ve got to admit I’m nuts for glow-in-the-dark things. Great idea! Thanks for sharing it!
Jonie those shirts are adorable!!
These shirts are adorable! Wish I would have seen them before Christmas =)