


Wall Art Part 2
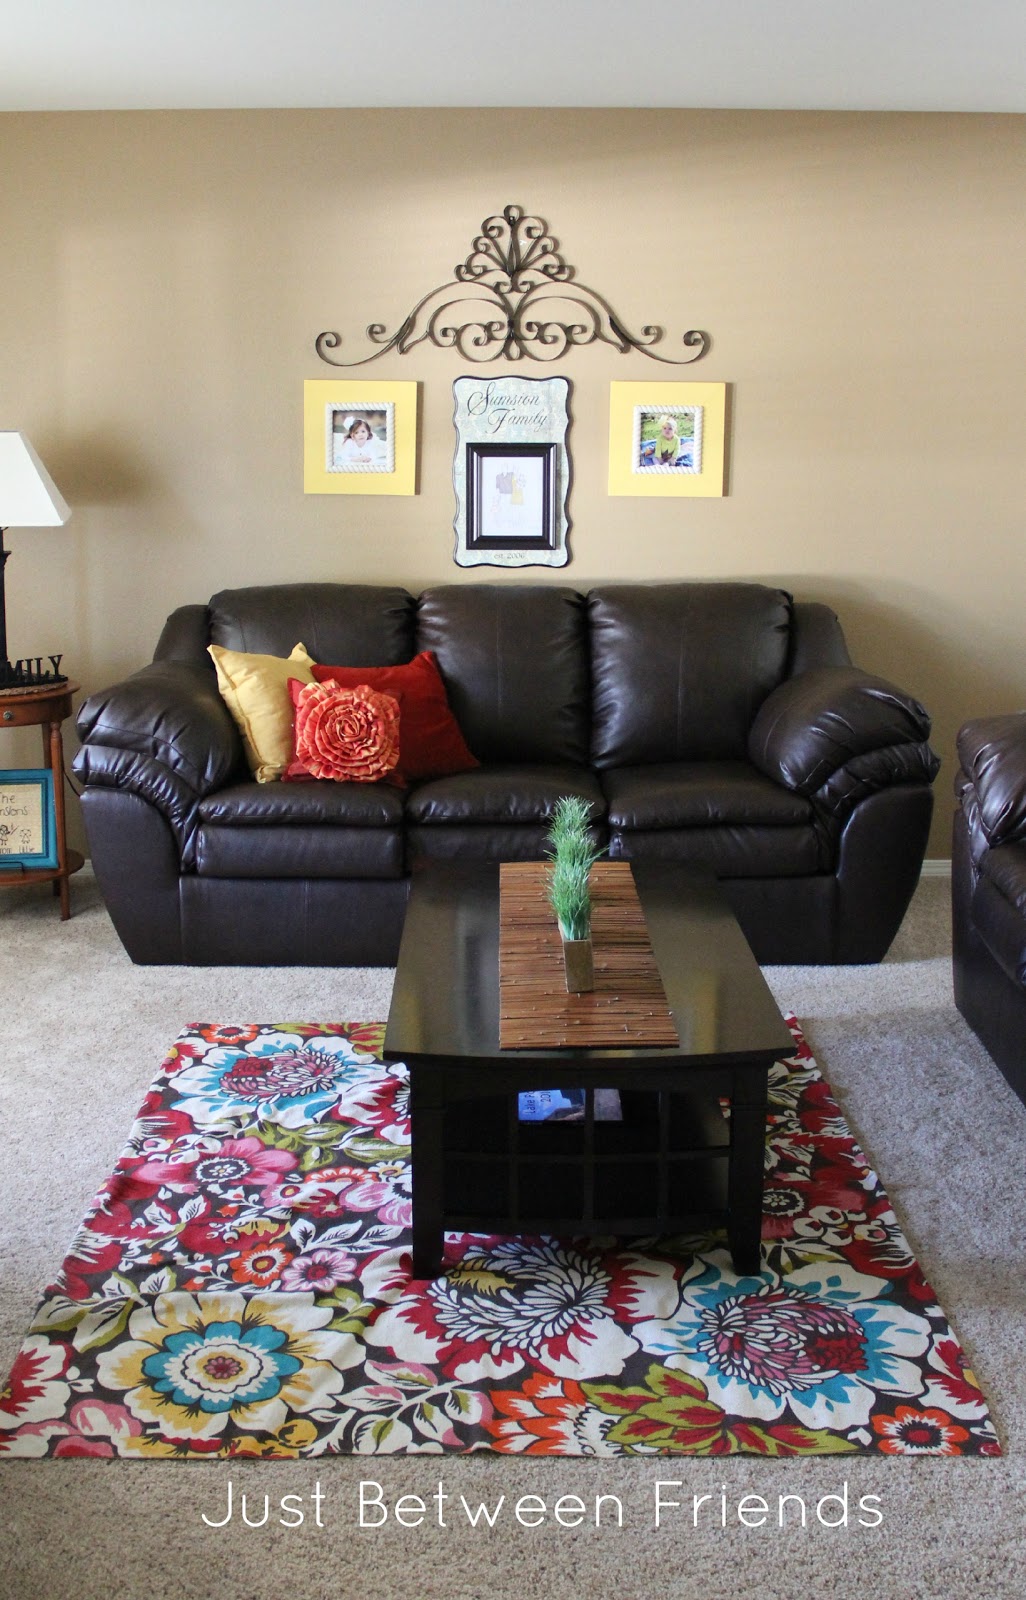
Several weeks ago, I promised to show you what I hung with my family photo wall art. Today is the day! I finally got a tutorial written and am so excited to show you how it all looks! Here is how my room looks all together.
This is how I made the frames: I started with a 1X4 piece of wood and a piece of fancy trim molding. I simply cut the wood at a 45 degree angle to create a square. I did the same for the molding. The insides of the frames are cut to be 8 inches square, which makes the outsides about 14 inches square. I used wood glue to hold the pieces all together. Then I used a wood filler on the joints so that it was nice and seamless and sanded it. Last, I painted the frame yellow and the trim white. I used wood glue to hold those together.


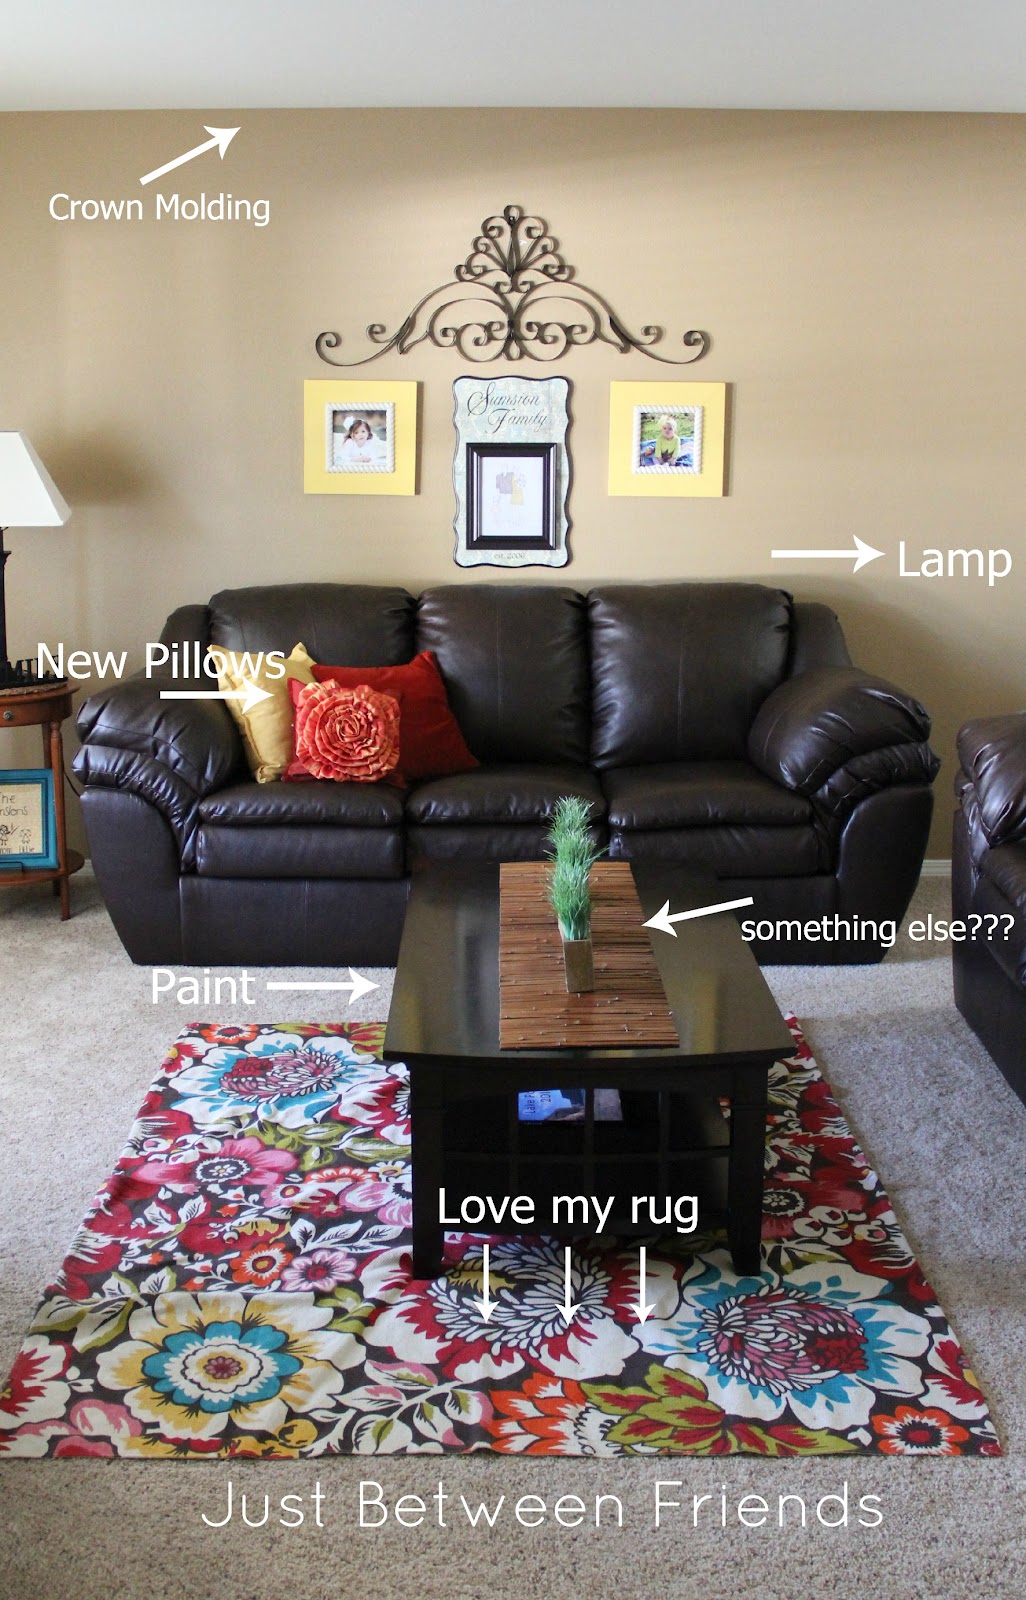

Where did you get that beautiful rug?
It’s a joy to find someone who can think like that
There is something so cute everywhere you turn in your house! Love it!
I love the layout! And I’m with Stephanie — I love the rug! Where did you get it?
I got the rug from the Urban Outfitters online store. They have a ton of really great rugs for really affordable prices.